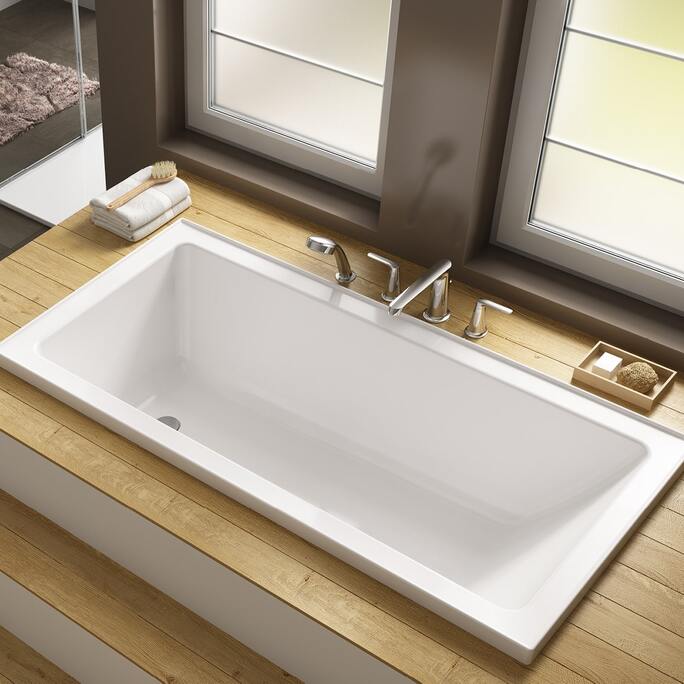
How to Install a Toilet Seat: Step-by-Step Guide for Beginners
Installing a toilet seat is one of those home improvement tasks that may seem daunting, but with the right tools and a little guidance, you can do it yourself. Whether you're upgrading your bathroom for a fresh new look or replacing a broken seat, this guide will walk you through every step.
At Kalessi Bathroom and Tiles, we believe in empowering homeowners with the knowledge they need for any bathroom renovation project. So, let’s dive into this beginner-friendly toilet seat installation guide. Explore wide range of Toilet Seats:
Step 1: Choose the Right Toilet Seat
Not all toilet seats are the same. You’ll need to choose a seat that fits your toilet’s model. Most toilets in Australia use standard sizing, but it’s always best to measure before you buy.
How to Measure:
- Measure the distance between the two holes on the toilet bowl where the seat is fixed. This is usually around 12 inches (30.5 cm), but double-check to avoid buying the wrong size.
- Consider the seat material (plastic, wood, etc.) and the shape (round or elongated) to match your bathroom’s aesthetic.
Step 2: Remove the Old Toilet Seat
If you're replacing an old seat, you'll first need to remove it. Follow these steps:
- Locate the Fixing Bolts: Most toilet seats are fixed in place using bolts at the back of the bowl. These are usually covered by plastic caps.
- Remove the Caps: Gently pry off the plastic covers with a flathead screwdriver.
- Unscrew the Bolts: Use your wrench to loosen the nuts holding the bolts in place. You might need to hold the bolt from underneath while turning the nut.
- Take Off the Old Seat: Once the bolts are removed, lift the old seat off and set it aside. You might want to clean the area underneath while you’re at it.
Step 3: Clean the Toilet Bowl
Before installing your new toilet seat, take a moment to clean the rim and the surrounding areas. Use a disinfectant and a cloth to ensure everything is hygienic. This step also gives you a fresh start before you attach the new seat.
Step 4: Attach the New Seat
Now that the old seat is gone, you’re ready to attach the new one. Here’s how:
- Align the Seat with the Holes: Position the new toilet seat over the holes on the toilet bowl. Most toilet seats have a couple of small holes at the back for the bolts to go through.
- Insert the Bolts: Slide the bolts through the holes of the toilet seat and into the holes in the toilet bowl.
- Secure the Seat: From underneath, use the nuts to secure the bolts. Tighten them by hand at first, and then use your adjustable wrench to tighten them further. Be careful not to overtighten, as this could crack the toilet or seat.
Step 5: Test the Seat
Once the seat is installed, give it a test run. Sit down gently to ensure the seat is secure and doesn't wobble. If it feels loose, tighten the bolts a little more. If it’s too tight, loosen the nuts slightly. Make sure the seat fits comfortably, without any wobbling.
Step 6: Final Touches
Now that your new toilet seat is installed, you can enjoy the updated look of your bathroom. You may want to:
- Check the Seat Movement: Make sure the seat and lid open and close smoothly.
- Tidy Up: Clean the toilet one last time to remove any fingerprints or dust from the installation process.
- Recheck the Bolts: After a day or two of use, check the bolts again to ensure they are still tight.
Why DIY? The Benefits of Installing Your Own Toilet Seat
Installing your own toilet seat not only saves you money on professional installation, but it also gives you the satisfaction of completing a simple, manageable home improvement project. It’s a quick fix that can improve the look and feel of your bathroom, all without much hassle. Plus, it’s a skill you can use for future DIY tasks!
Common Mistakes to Avoid
While the process is straightforward, here are a few common mistakes to avoid:
- Not Measuring Correctly: Always double-check your seat measurements before buying. A poorly sized seat won’t fit, and you'll end up wasting time and money.
- Overtightening the Bolts: Tightening the bolts too much can cause cracks in the toilet or the seat. Make sure they’re secure, but don’t overdo it.
- Forgetting to Clean: It’s easy to forget to clean around the toilet after removing the old seat, but doing so ensures the area stays fresh.
Conclusion
Installing a toilet seat might seem intimidating at first, but it’s a simple task that anyone can do with the right tools and instructions. With the help of this guide, you’ll be able to complete the job quickly and efficiently, saving yourself time and money.
At Kalessi Bathroom and Tiles, we’re here to provide you with the best quality products to make your bathroom experience seamless. Need a new toilet seat or other bathroom essentials? Browse our extensive range online today!
FAQs About Toilet Seat Installation
Q: How do I know if the toilet seat I’m buying will fit?
A: Measure the distance between the bolt holes and the shape of your toilet. Most toilet seats in Australia are standard sizes, but always check the specs before purchasing.
Q: Can I replace a toilet seat without a plumber?
A: Yes! Replacing a toilet seat is a simple DIY task that doesn’t require professional help. Just follow our step-by-step guide.
Q: How often should I replace my toilet seat?
A: Toilet seats can last for years, but if it’s cracked, uncomfortable, or showing signs of wear and tear, it’s time for a replacement.
Related post
07
Jul

06
Jul
29
Jun
22
Jun